Every wet spring, the same spots turn to soup: the gate, the water trough, the hay ring and the path the herd walks every day. Mud is more than a mess. It pulls at hooves, hides sharp stones, and keeps feet wet for days at a time.
Wet, dirty conditions raise the risk of hoof problems in cattle, sheep and goats, and of thrush and scratches in horses. Animals also spend more energy just moving around,
and feed trampled into the mud is feed wasted.
The good news is that most pasture mud has a cause you can find and fix. This guide walks through how to read the problem, the three fixes that work best on small farms, and how to choose the right size of small excavator if you plan to do the dirt work yourself.
Find out where the water comes from
Before you dig anything, walk the pasture after a heavy rain and watch where the water goes. Most muddy areas fall into one of three groups:
- Traffic areas. Gates, troughs, feeders and lanes, where hooves churn the ground faster than grass can hold it.
- Low spots. Places where water runs in from higher ground and has nowhere to go.
- Wet soil. Areas with a high water table or a spring, where the ground stays soft even in dry weeks.
Mark each spot with a flag. The fix for a gate is very different from the fix for a spring, and a little time spent watching saves a lot of
digging in the wrong place.
Move the busy spots to higher ground
University of Minnesota Extension advises placing feeding areas, shelters and storage on higher ground, because those areas dry faster as water flows downhill. It also suggests gutters on buildings and ditches or swales to steer rain away from the places animals gather.
If your water trough sits at the bottom of a slope, moving it uphill can do more good than any drain. The same goes for a hay ring parked in the lowest corner of the field.
Build a pad where the hooves are
For spots you cannot move, a heavy-use pad is the standard answer. The basic recipe used by extension services is simple:
- Scrape away the mud down to firm ground.
- Lay geotextile fabric to stop gravel from sinking into the soil.
- Add layers of gravel, coarse at the bottom and finer on top so it is comfortable for hooves.
Penn State Extension notes a few details that make a pad last. Do not dig too deep, or the pad can act like a pond and hold water. Give the surface has a slight slope, about a quarter inch per foot, so water does not puddle. Around feeders, extend the pad well past the feeding
area, about 12 feet beyond the feeders on each end, so animals are not standing in mud at the edges.
The University of Minnesota guide for horse farms describes removing about 8 inches of topsoil, using fabric and gravel layers, and laying a perforated drainpipe alongside the pad where there is a place for the water to go.
Your local USDA Natural Resources Conservation Service (NRCS) office can help too. Heavy use area protection is one of its conservation practices (Practice 561), and some farms qualify for cost-share help to build pads around troughs and feeders.
Give water a way out
Low spots need a path for the water. Common options include:
- A shallow swale or ditch to carry surface water around the pasture rather than through it.
- A French drain: a trench with a perforated pipe wrapped in fabric and surrounded by gravel, leading to a safe outlet.
- A small pond or catch basin where water can collect away from where animals stand.
Make sure the outlet does not send muddy, manure-filled water into a creek or a neighbor #39;s field. Clean runoff is part of keeping both your animals and your water supply are healthy.
Bury the water line
Frozen or broken water lines are a common reason troughs get moved to bad places. Burying a line to a new trough on higher ground
solves two problems at once: animals always have clean water, and the mud at the old trough site can heal.
Bury the line below your local frost depth. Your county extension office can tell you how deep that is in your area.
Choosing a small excavator for the job
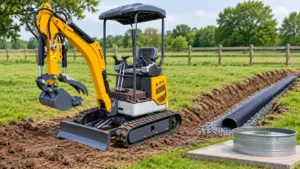
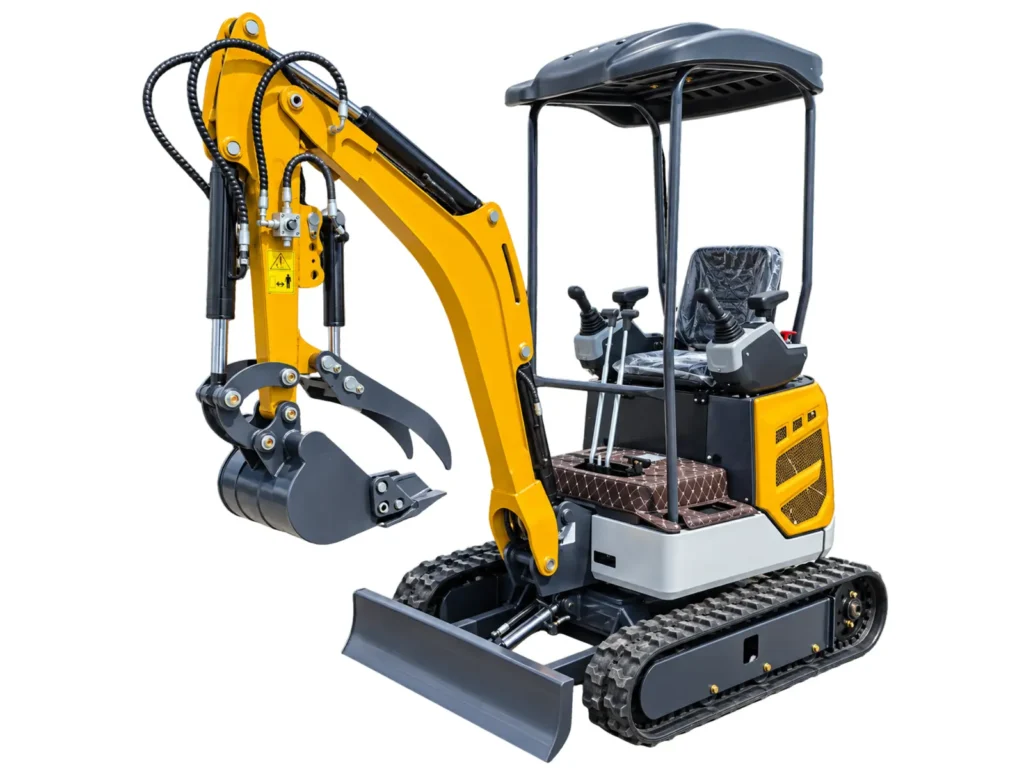
Many of these projects are too big for a shovel and too small to hire a large contractor. That is where a small excavator, often called a
mini excavator, earns its place on a farm.
A few simple rules help you match the machine to the work:
- Trenching for water lines and drains: a smaller machine (roughly 1 to 2 tons) fits through pasture gates, is light on wet ground, and digs a narrow, neat trench.
- Scraping pads and cutting swales: a mid-size machine (roughly 3 to 5 tons) moves more material per scoop and handles rocky soil better.
- Digging ponds and catch basins: the larger end of the mini range reaches deeper and fills a dump trailer faster.
Rubber tracks are kinder to sod than steel tracks. Wait for the ground to firm up before you work, too: a heavy machine on soaked
The ground can leave ruts that become the next mud hole.
Before you dig, call 811. It is a free service that marks buried utility lines, and it is required in most states before any excavation. Farms
often have old water, power or gas lines that nobody remembers.
Keep it working
A pad or drain is not a one-time job. Clean manure off pads often. University of Minnesota Extension notes this reduces bacteria linked
to thrush and scratch, and it keeps the surface draining. Rake gravel back into place, clear outlets after storms, and rest pasture areas
that start to break down before they turn to mud.
Final Thought
Muddy pastures are hard on animals and on the people who care for them. Watch where the water goes, move busy areas uphill, build
pads where you cannot move them, give water a way out, and bury lines below frost. A weekend of planned dirt work can mean
healthier hooves and cleaner water for years.
References
About the author
Braden Chupp is a consultant for Chupp Industrial, a family business in Chouteau, Oklahoma, that has worked with farm and construction equipment for over 15 years. Learn more about mini excavators for farm drainage and earthwork.